Photobucket Photobucket Photobucket Photobucket Photobucket Photobucket Photobucket Photobucket Photobucket Photobucket Photobucket Photobucket Photobucket

Birthday Favor Tags!

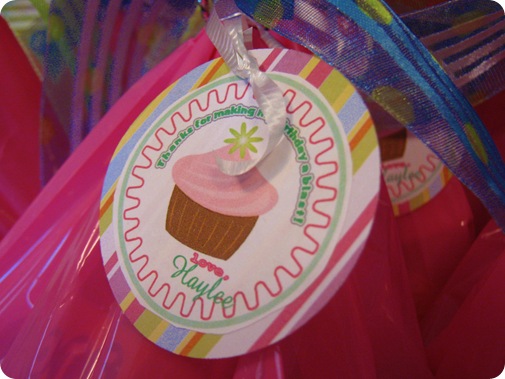
IMG_2456

It’s not like it’s hard or anything, I know.

BUT… these tips would’ve helped me making the tags for Haylee’s party favor bags, so I thought I would pass on the learning curve.  :)

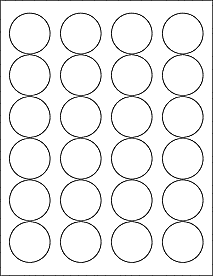
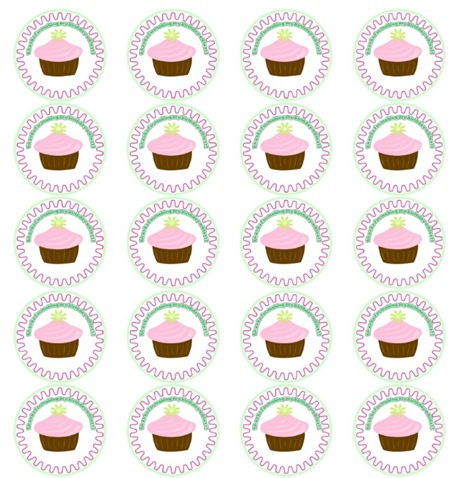
I started off by downloading a free circle label template for Word and Printshop.  I ended up using Printshop but you could make them in Word too. There are so many different shaped templates to download that are so cute too… flowers, award ribbons, USA shape, etc.

circle label pic

I wanted to get a 1 inch hole punch to punch out perrrrr-fect little circles, but the only place I seem to get out to these days is Walmart, and they decided to thwart my plans by not having any.

That meant that I had to cut them out by hand which wasn’t the prettiest, but it was good enough to get the job done.  I matted them on patterned scrapbook paper circles cut with my cricut.

Now that you have your circles cut and matted…

favor1

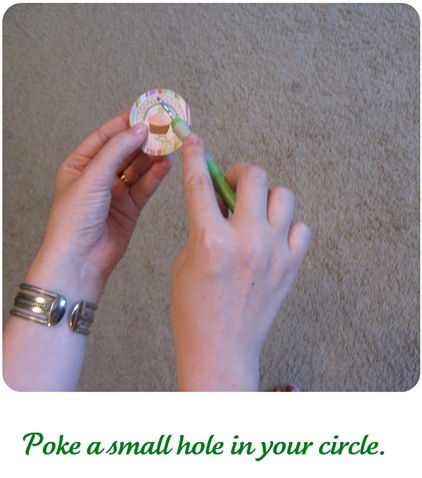
You can use an actual hole punch if you want to, but that leaves a BIG gaping hole.  I have a pointy, poker tool that came with a cricut tool set.  I really don’t even know WHAT exactly it’s for, but that’s what I use it for.  Poking teeny undetectable holes in things.

If you don’t have a fabulous pointy poker, then you can improvise with a regular old safety pin or needle.

Next, you gotta…

favor2

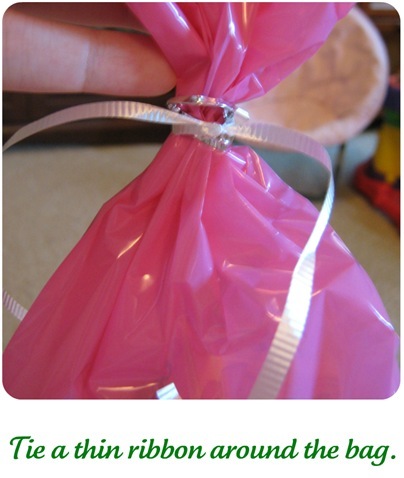
This thin ribbon is going to be what your circle tag is attached to.  I used the twisty tie to cinch the bag first just to make tying the ribbon easier.

After your ribbon is tied…

favor3

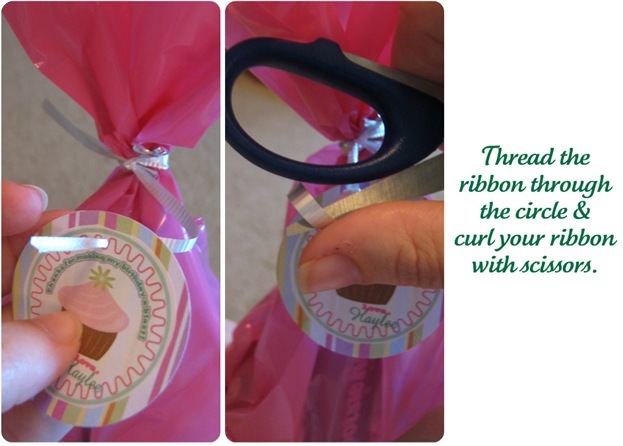
Thread the ribbon through your itty bitty hole and tie, and curl your ribbon ends with your scissors.

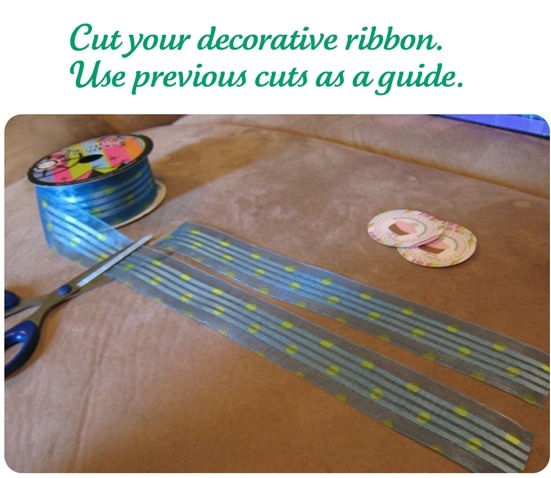
Now it’s time for the purty ribbon.  It always helps me to leave myself a cut piece as a guide for the right length so I’m not winging it every.single.time… or something.  :)

favor4


A square knot is prettier.  Do you know how to tie one?  I’m a girl {did you know that?} and it wasn’t until my former cub scout husband taught me this trick did I finally learn how to tie a pretty knot or bow! 

It is funny to think that Chris’s cub scout knot training would eventually be used to tie pretty bows on the back of a little girl’s dress.  :)

favor5

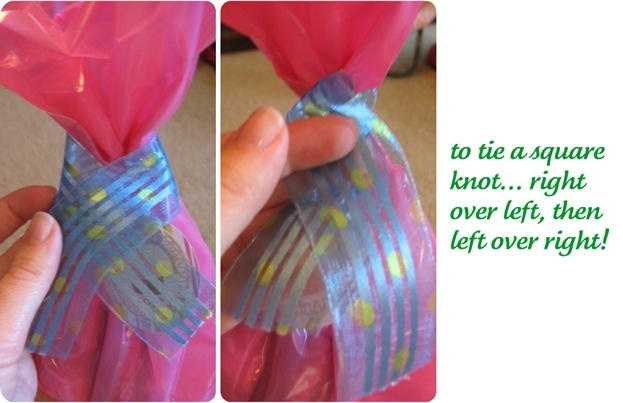
So now you know the trick… With your two ends of ribbon in each hand, take the Right one over the Left one, pull through and tighten.  Then put the Left side over the Right side, pull through and tighten.  Easy Peasy.  Works for knots and bows.  

And really it doesn’t matter which you start with as long as you alternate.  In other words, it still works to do Left over Right, then Right over Left.  Make sense?

{Anyone else have tips or tricks for tying pretty knots and bows?}

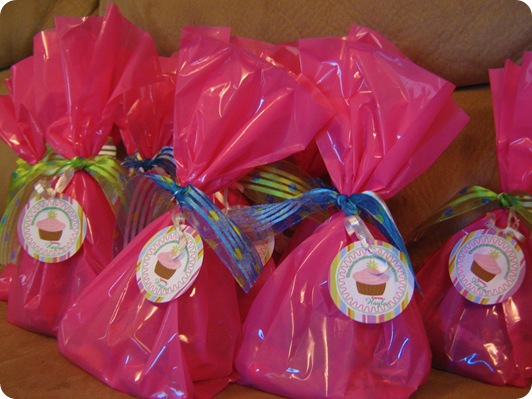
And wala!

IMG_2449

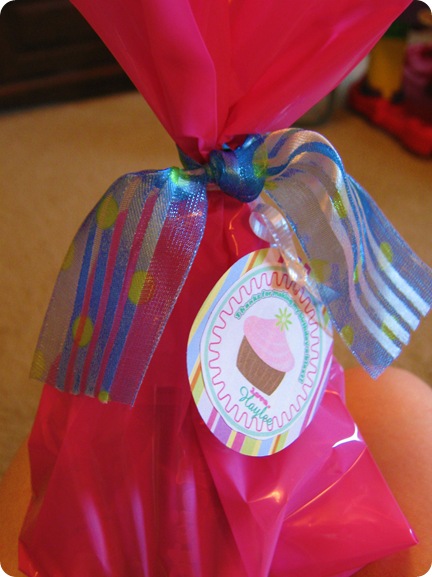
Cheap and cute!  Can’t beat that! 

IMG_2453

Just cuz my Momma taught me to share, I am sharing my tags with you!  :)

Click here to download the pdf! 

favor tags

Enjoy!

All I ask if you would like to use it,  is that you share the love and become a follower of the blog!  :)

smiley_face_bw free

Sorry, comments are closed for this post.

Birthday Favor Tags!

IMG_2456

It’s not like it’s hard or anything, I know.

BUT… these tips would’ve helped me making the tags for Haylee’s party favor bags, so I thought I would pass on the learning curve.  :)

I started off by downloading a free circle label template for Word and Printshop.  I ended up using Printshop but you could make them in Word too. There are so many different shaped templates to download that are so cute too… flowers, award ribbons, USA shape, etc.

circle label pic

I wanted to get a 1 inch hole punch to punch out perrrrr-fect little circles, but the only place I seem to get out to these days is Walmart, and they decided to thwart my plans by not having any.

That meant that I had to cut them out by hand which wasn’t the prettiest, but it was good enough to get the job done.  I matted them on patterned scrapbook paper circles cut with my cricut.

Now that you have your circles cut and matted…

favor1

You can use an actual hole punch if you want to, but that leaves a BIG gaping hole.  I have a pointy, poker tool that came with a cricut tool set.  I really don’t even know WHAT exactly it’s for, but that’s what I use it for.  Poking teeny undetectable holes in things.

If you don’t have a fabulous pointy poker, then you can improvise with a regular old safety pin or needle.

Next, you gotta…

favor2

This thin ribbon is going to be what your circle tag is attached to.  I used the twisty tie to cinch the bag first just to make tying the ribbon easier.

After your ribbon is tied…

favor3

Thread the ribbon through your itty bitty hole and tie, and curl your ribbon ends with your scissors.

Now it’s time for the purty ribbon.  It always helps me to leave myself a cut piece as a guide for the right length so I’m not winging it every.single.time… or something.  :)

favor4


A square knot is prettier.  Do you know how to tie one?  I’m a girl {did you know that?} and it wasn’t until my former cub scout husband taught me this trick did I finally learn how to tie a pretty knot or bow! 

It is funny to think that Chris’s cub scout knot training would eventually be used to tie pretty bows on the back of a little girl’s dress.  :)

favor5

So now you know the trick… With your two ends of ribbon in each hand, take the Right one over the Left one, pull through and tighten.  Then put the Left side over the Right side, pull through and tighten.  Easy Peasy.  Works for knots and bows.  

And really it doesn’t matter which you start with as long as you alternate.  In other words, it still works to do Left over Right, then Right over Left.  Make sense?

{Anyone else have tips or tricks for tying pretty knots and bows?}

And wala!

IMG_2449

Cheap and cute!  Can’t beat that! 

IMG_2453

Just cuz my Momma taught me to share, I am sharing my tags with you!  :)

Click here to download the pdf! 

favor tags

Enjoy!

All I ask if you would like to use it,  is that you share the love and become a follower of the blog!  :)

smiley_face_bw free

Sorry, comments are closed for this post.